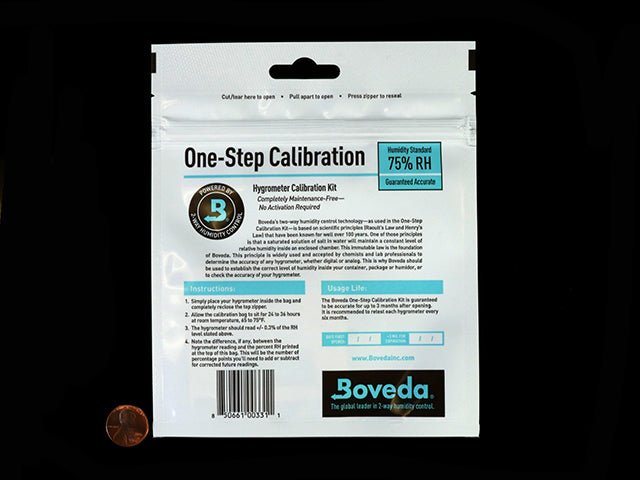
Boveda Hygrometer Calibration Kit
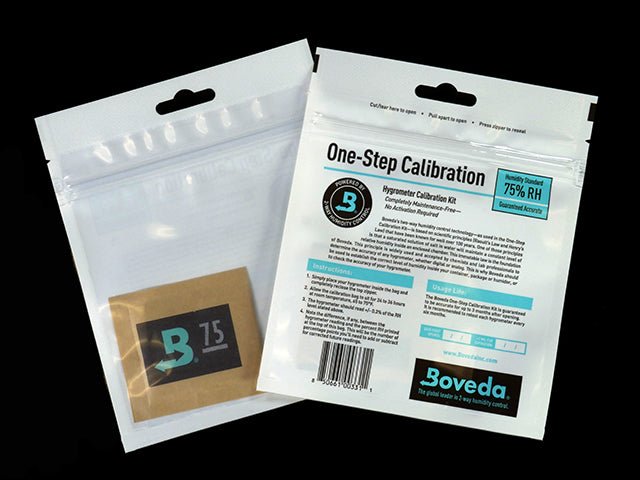
The One-Step Calibration Kit is a simple and surefire method to accurately calibrate any digital or analog hygrometer or humidity sensor. The One-Step Calibration Kit utilizes Boveda’s 75.5% relative humidity standard, which is widely used and accepted by chemists and lab professionals to determine the accuracy of any hygrometer (also known as the “salt test”). Simply place your hygrometer inside the bag, close the zipper, and wait 24 hours. A perfectly-calibrated hygrometer will read 75% Rh. If your hygrometer reads above or below 75%, adjust the calibration by the number of percentage points it is off from 75%.
Calibration: For best results, use the One-Step Calibration Kit.
1. Remove plastic tab from battery compartment to start your digital hygrometer.
2. Simply place your hygrometer inside the bag and completely re-close the top zipper.
3. Allow the calibration bag to sit for 24 hours at room temperature, 65 degrees F to 75 degrees F.
4. The hygrometer should read +/- 0.3% of 75%.
5. Note the difference, if any, between the hygrometer reading and 75%. This will be the number of percentage points you’ll need to adjust for corrected future readings.
6. Proceed to adjustment.
Adjustment
1. Turning the adjustment wheel (Control #3) will adjust the humidity reading 1% for every 1 click/dash. Turning clockwise increases the percentage, and counter-clockwise decreases it. (Ex: The hygrometer should read 75% but it is reading 72%. Turn the adjustment knob 3 clicks clockwise.)
2. Press the Set button (Button #2). Temp and humidity will display “–” for a few seconds and reset to Celsius. Press Button 1 to change to Fahrenheit.
NOTE: Once the hygrometer is out of the 75.5% atmosphere of the bag, it’s reading the ambient air. This means that turning the knob the correct clicks and pressing reset will NOT show 75%, as the hygrometer is now reading the air in the room. If you want to confirm you’ve adjusted it properly, put it back in the bag for another 24 hours.
JOIN THE HIGH FLYERS
Promotions, new products and sales. Directly to your inbox.

